


How to Replace a Shingle: Steps Involved
August 10, 2023
Maintaining a strong and resilient roof is paramount for safeguarding your home from the harsh Canadian weather. However, roof shingles can succumb to wear and tear over time, requiring prompt replacement to avoid further damage and leaks.
If you are a homeowner in Toronto facing this situation, learning how to replace roof shingles is a valuable skill that can save you money and ensure the longevity of your roof. This guide will take you through the step-by-step process of roof shingle replacement while focusing on safety, materials, and essential techniques.
Steps to Remove Damaged Shingles
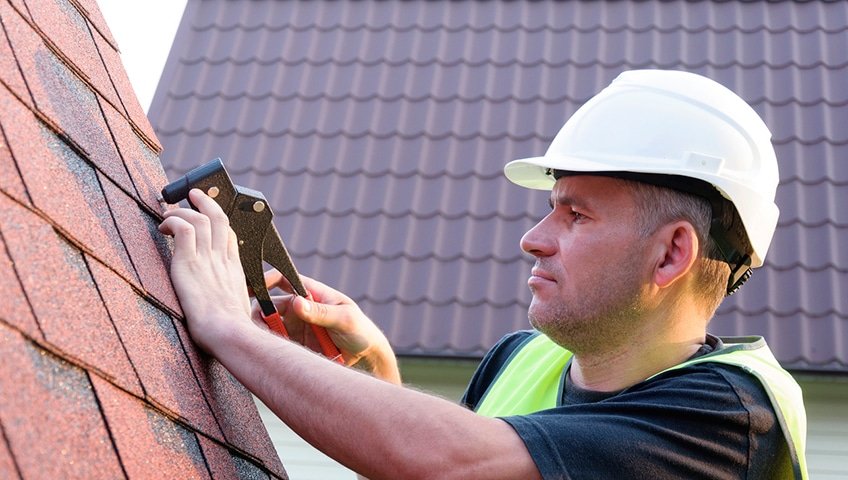
Safety must be your primary concern before undertaking any roof shingle replacement project. Make sure to equip yourself with proper safety gear, including non-slip shoes, a stable ladder, and, for steep roofs, a safety harness. It is also advisable to have a partner to assist you during the process, enhancing safety and efficiency.
Assess the Damage
Begin the replacement process by carefully inspecting your roof for damaged shingles. Look for signs of curling, cracking, or missing pieces. Identify the extent of the damage to determine the scope of the replacement project.
Remove Shingles in Cool Weather
Roof shingles become brittle in hot weather, making them more challenging to work with. It is recommended to choose cooler days for the replacement, which facilitates easier removal.
Loosen the Adhesive
Utilize a putty knife or a shingle removal tool to gently lift the tabs of the shingles two rows above the damaged area. This will expose the adhesive strips underneath.
Loosen the Exposed Nails
Carefully pry up the nails that hold down the damaged shingle. Apply just enough force to avoid causing additional damage to the surrounding shingles.
Continue Loosening the Adhesive and Nails
Follow the same process for each row of shingles above the damaged one, working your way toward the affected area.
Loosen and Remove the Damaged Shingles
Once all the surrounding shingles are free, you can gently remove the damaged shingle. Be cautious not to break other shingles during this process.
Roof Shingle Replacement
With the damaged shingle successfully removed, it’s time to proceed with the replacement.
Get the Necessary Replacement Materials
Measure the dimensions of the removed shingle accurately and purchase a new one that matches the style and colour of your existing roof shingles. Investing in high-quality replacement materials is crucial for the durability of your roof.
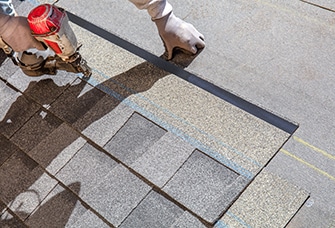
Install the New Shingle
Slide the new shingle into place, ensuring it aligns with the surrounding shingles. Make sure it sits snugly and evenly on the roof.
Reseal Under the Edges of All Three Shingles
Lift the shingles above the new one and apply roofing cement or adhesive underneath. Press the lifted shingles back into place, securing the new shingle firmly.
Secure Other Loose Shingles
When replacing roof shingles, take advantage of the process to reseal any other loose shingles you may come across. Properly securing all shingles enhances the overall stability of your roof.
Fix Cracked or Split Shingles Instead of Replacing Them
Not all damaged shingles require replacement. Minor issues like cracks or splits can often be repaired using roofing cement, saving money on unnecessary replacements.
How Do You Locate Roof Damage?
Regular roof inspections are essential to identify and address roof damage promptly. Here are some steps to help you locate potential issues:
Interior Inspection
Start inside your home by checking for water stains on the ceiling or walls, as these could indicate a leaking roof.
Exterior Inspection
Walk around your property and visually inspect your roof from the ground. Look for missing, curled, or cracked shingles and signs of wear and tear.
Check the Gutters
Clogged gutters can lead to water backups and damage to your roof. Ensure the gutters are clear of debris and securely attached.
Professional Roof Inspection
If you are unsure about inspecting your roof or need a more thorough assessment, consider hiring a professional company in Toronto for comprehensive inspection and roof shingle replacement. Investing the time and effort to promptly identify and address roof damage will prevent small issues from escalating into more significant problems that can increase the cost of replacing roof shingles.
We Offer Comprehensive Roof Shingle Replacement Services
Reach out to us at 416-736-7373 or fill out our contact form for a free assessment, and let us restore the strength and integrity of your roof. Experience peace of mind knowing your shelter is in capable hands. Choose us for reliable, top-notch roof shingle replacement solutions.
Also Read:
- How To Repair & Replace Blown-Off Roof Shingles
- Choosing The Perfect Type Of Roof Shingles For Your Home